Making Dinosaur Fossils!
We recently had a mini Dinosaur experience by making dinosaur fossils! I have a little dinosaur addict in my group this year. She is a bright, chatty little poppet who can rattle off dinosaur names like a true Jurassic junkie! She’s got all the gear – dino boots, dino lunchbox, dino clothes…you name it. The very mention of dinosaurs lights her up.
I mean REALLY lights her up! It’s beautiful!
I love the passion and enthusiasm it brings out in her, so I want to work with this interest to engage her and give that enthusiasm an opportunity to grow. My big idea? Making dinosaur fossils!
The dinosaur fossil idea…
I planned a fine motor activity based around some dinosaur skeletons I bought on amazon. To start with, I made ‘fossils’ and decided to use tools like toothpicks and skewers to dig them out.
I made a rock-shaped fossil for each member of my focus group, primarily with one kiddo in mind. My group objective is working on fine motor skills at the moment , so it covers lots of bases with one activity. Even though it’s a fine motor activity, I also thought ahead about what language to use when explaining the activity to the kids. I considered what language I expect them to use during play and how I can model rich vocabulary for them.
What resources do you need to make dinosaur fossils at home?
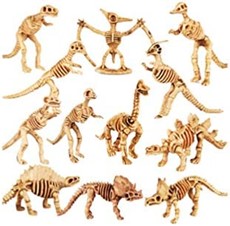
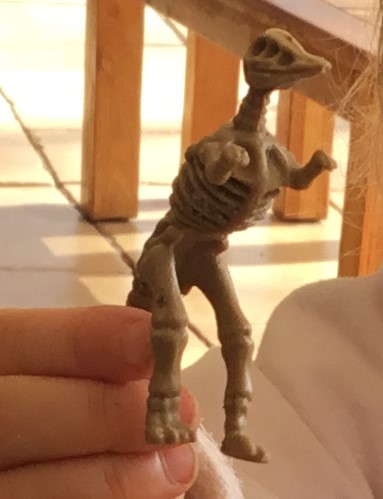
Here are the dinosaur skeletons. They are quite small. They fit in the palm of an adult hand, and they weren’t overly expensive – about $16 AU, or about $11 US.
I found the fossil mud recipe online, but modified it a tiny bit because I didn’t have all the ingredients. It’s basically playdough with a couple of changes, so it’s easy and quick!
The process of making the fossils
The recipe I found made enough to ‘fossilize’ the 9 dinosaurs that come in the set. The dough smells great and it’s a lovely muddy colour. I didn’t use much dough for each. My crew have short little attention spans and I didn’t want it to be too hard to dig them out. The dinosaur skeletons have lots of grooves and hollows so they snuggle into the mud really well, but I may not think that’s a good thing when it comes time to clean the mud off though!

Some of the fossils have little bits poking out of the dough (as you can see below) as a teaser! (Note: if you plan to dry these in the oven like I did, make sure only tiny bits of the skeleton are exposed… I accidentally melted a foot a tiny bit!)
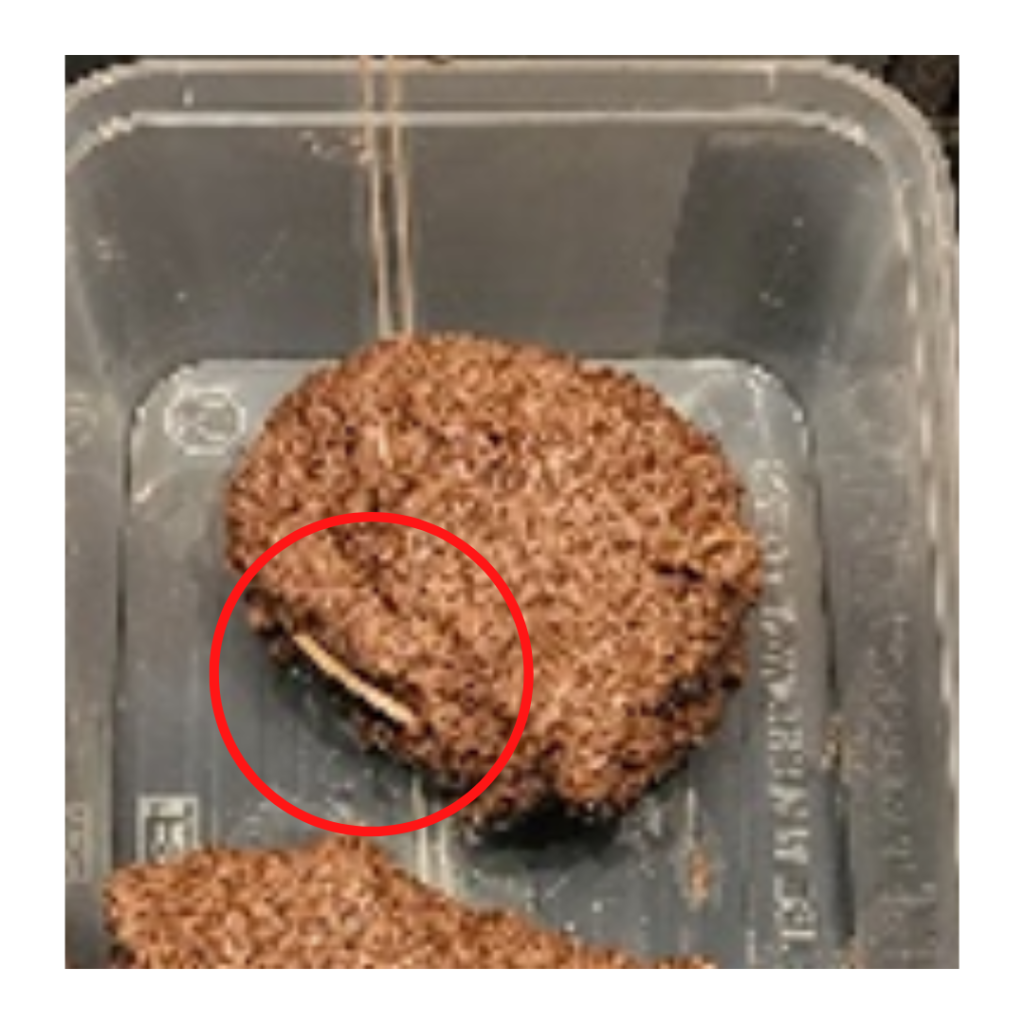
I have to warn you – the only bad part is that the finished balls of dough look scarily like something the dog left behind!! Hopefully they dry to look a little better than that!

I airdried the dough overnight on the kitchen bench, then dried them more in the oven at 100°c (about 215°F) for about an hour. They ended up about the texture of a dry brownie cookie – easy for little fingers to break away!
Update – Debriefing after making the fossils
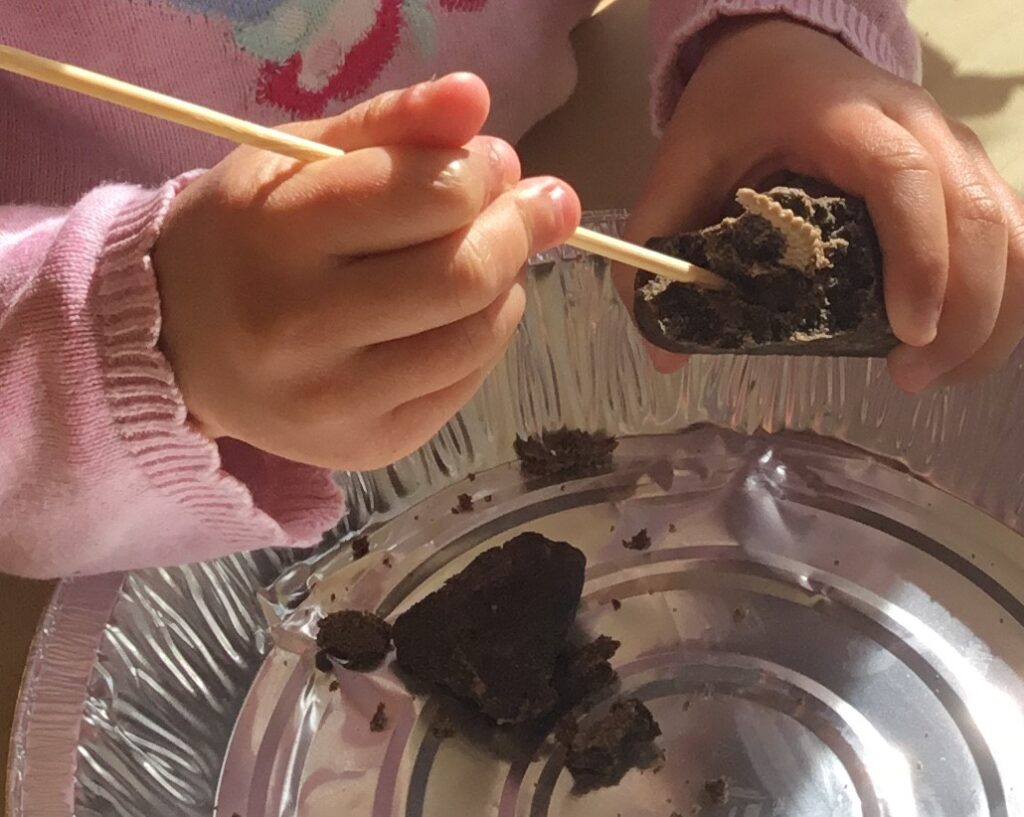
The fossils were a big hit! My little Dino Addict LOOOVED them, and surprisingly, the fossils came out easily and cleanly with just a bit of persistent digging. I broke the corner off the fossils for one little poppet to make it easier for them to start excavating.
We used blunted skewers to dig out the skeletons. They were the perfect tool – they easily scratched the dough loose and pried it away from the skeletons.
Want more info on how to make your own dinosaur fossils?
If you would like to get the mud recipe and lesson plan for this activity, click the link below and I’ll send it straight to you.
Note: The outcomes are for here in Australia, but they are relevant to the skills we all aim to teach our little friends, so hopefully you can make them work for you. Let me know if that’s not the case and what regulations/guiding documents you work under, because I’d love to have a look at what documents or frameworks you are working with and adapt my lessons to include them.
If you would like to see some of my other resources, head over to my TPT store and have a browse.
Thanks for dropping by – have a great day!


